
Creating a custom character for your game using MetaHuman Creator and Wrap3D involves a series of intricate steps, leveraging the strengths of both tools. MetaHuman Creator is a cloud-streamed application that allows users to create highly realistic human characters, while Wrap3D (by R3DS) is a software used for transferring scans of real people into 3D models that can then be modified or used directly in various projects.
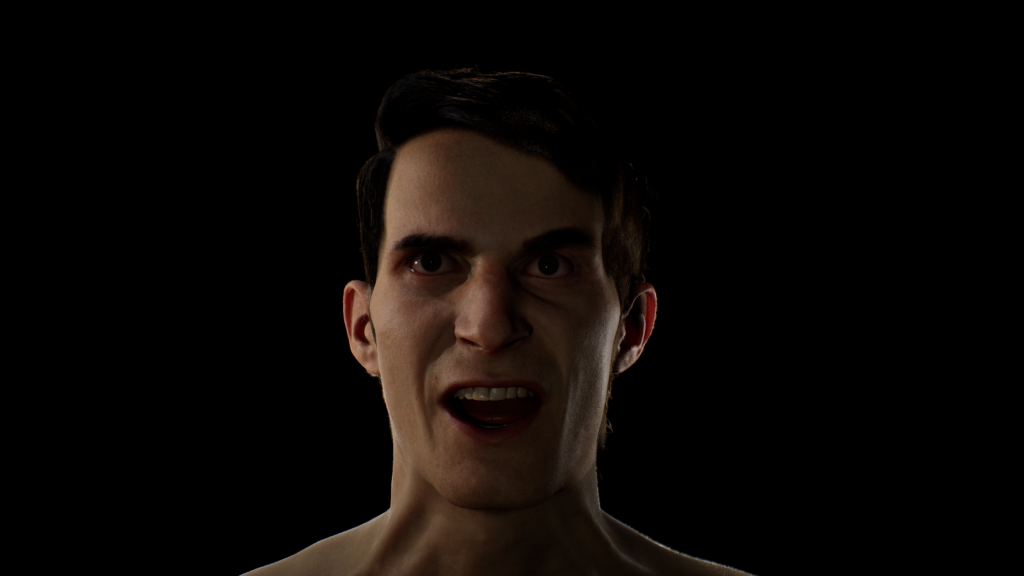
Our Character
Here’s a detailed workflow:
Step 1: Conceptualization and Planning
Define the Character: Start by defining your character’s backstory, personality, and physical characteristics. This will guide your creation process.
Gather References: Collect images, sketches, and any other reference materials that might help in detailing your character’s appearance.
Step 2: Initial Character Creation in MetaHuman Creator
Access MetaHuman Creator: Log into the MetaHuman Creator and start a new project.
Basic Customization: Use the MetaHuman presets as a starting point. You can adjust skin tone, facial features, age, hair, clothing, and more to match your character concept as closely as possible.
Exporting the Model: Once satisfied with the basic model, export it. You can download a fully rigged version that’s ready to be used in Unreal Engine or opt for a model that can be further refined in other 3D software.
Step 3: 3D Scanning for Wrap3D (Optional)
Capture a 3D Scan: If your character is based on a real person or you need specific physical traits, capture a 3D scan of the individual or object. High-quality scans can significantly enhance realism.
Prepare the Scan: Clean up the 3D scan using software like MeshLab or ZBrush to remove any unnecessary data and ensure it’s ready for wrapping.
Step 4: Using Wrap3D for Detailed Customization
Import into Wrap3D: Open Wrap3D, and import both your cleaned 3D scan and the exported MetaHuman model.
Wrap Process: Use Wrap3D to project the details of the 3D scan onto the MetaHuman base mesh. This process involves matching key points between the scan and the MetaHuman mesh to accurately transfer textures and geometric details.
Refinement: After wrapping, additional tweaks might be necessary to perfect the look. This could involve adjusting textures, fixing any anomalies, and ensuring the character’s facial expressions remain realistic.
Step 5: Rigging and Animation (If Not Using MetaHuman Directly)
Rigging: If you’ve made significant changes outside MetaHuman Creator, you may need to rig the character again. This can be done in software like Maya or Blender, or by using the auto-rigging features in Unreal Engine.
Animation: Animate your character according to your game’s requirements. You can create custom animations or use motion capture data.
Step 6: Integration into Your Game
Importing into Game Engine: Import the final character model into your game engine, such as Unreal Engine or Unity. Ensure to also import all necessary textures and materials.
Testing: Test the character within your game environment to check for any issues with animations, textures, or how the character interacts with the game world.
Best Practices
Keep Iterating: Character creation is an iterative process. Don’t hesitate to go back and make adjustments as needed.
Optimization: For game development, always keep an eye on the performance impact of your characters. High-fidelity models are resource-intensive, so optimize them to balance quality and performance.
By following these steps and utilizing the power of MetaHuman Creator and Wrap3D, you can create custom, highly realistic characters for your game, enhancing the overall gaming experience with visually stunning and emotionally engaging characters.