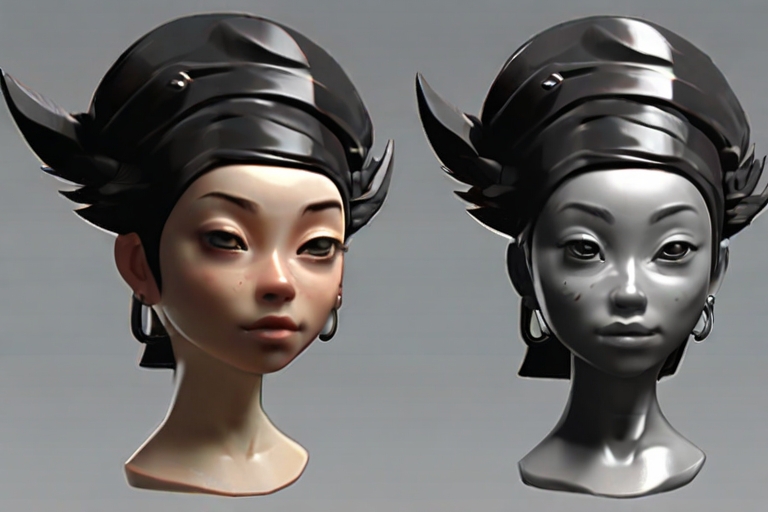
Characterization in ZBrush and Maya allows for deep customization of your 3D character, including aging, building muscle, adding scars, and other detailed modifications. Here’s how you can approach these specific aspects of character design using these powerful tools:
Aging a Character
ZBrush for Fine Details: Use ZBrush’s sculpting tools to add wrinkles, sagging skin, and age spots. Tools like the Standard, DamStandard, and Inflate brushes are excellent for creating fine lines and wrinkles. The ClayBuildup brush can be used to add volume to areas that may become more pronounced with age.
Alpha Brushes: Utilize alpha brushes in ZBrush for skin textures and wrinkles. You can find or create alphas that mimic the patterns of aged skin and apply them to specific areas.
Maya for Overall Appearance: Adjust the character’s posture and proportions in Maya to reflect the stoop or weight redistribution often seen with aging. You might also modify the hair to show graying or hair loss.
Building Muscle
Muscle Anatomy in ZBrush: Use reference images to accurately sculpt muscle groups on your character. The Move, ClayTubes, and Inflate brushes can help add muscle volume and definition.
Dynamic Muscle System in Maya: For animation-ready characters, consider using Maya’s muscle system to create muscles that deform realistically during movement. This can add a layer of realism to muscular characters.
Adding Scars and Other Features
Creating Scars in ZBrush: Scars can be added by sculpting indentations and raised tissue using the DamStandard and Inflate brushes. For old scars, smooth the edges slightly more than for new scars.
Texturing Scars: Use Spotlight or Polypaint in ZBrush to color and texture the scars, adding variations to mimic healed or fresh scar tissue.
Adding Tattoos and Details: For tattoos or intricate skin details, Polypaint or UV mapping techniques in Maya can be used. Apply these textures to the character’s skin for a realistic appearance.
Workflow Tips
Start with Broad Modifications: Begin by making broad changes to the character’s physique or age, adjusting overall body shape and proportions before moving on to fine details.
Layers and Morph Targets: Utilize layers in ZBrush for different modifications (e.g., one layer for aging, another for scars). This allows for non-destructive editing and easier revisions. In Maya, use blend shapes (morph targets) for similar flexibility.
Consistent Characterization: Ensure that all aspects of the character’s appearance are consistent with the changes you’re making. For example, if you’re adding significant muscle mass, consider how that might affect the character’s clothing or how they carry themselves.
Final Touches in Maya: After sculpting and texturing in ZBrush, import the character back into Maya for any final rigging adjustments, ensuring that the added details do not interfere with the character’s animations.
By carefully using ZBrush and Maya, you can dramatically alter a character’s appearance and create a rich backstory through visual details. This process enhances the character’s believability and depth, making them more engaging and memorable for your audience.
